What is Blender?
Blender is a powerful 3D creation suite.
It is widely used for various purposes, including:
- Modelling
- Animation
- Rendering.
I use it most as my main workhorse for telling digital stories.

If you are interested, you can read my review on Blender
Whether you are an aspiring artist, a filmmaker, or a game developer, learning how to use Blender can be a valuable skill.
In this comprehensive guide, we will take you through the process of learning how to use Blender, step by step And also look at a few of the core concepts that you should familiarize yourself with before getting started.
Different Methods of learning
Everybody learns differently.
So it should be no surprise that there are a multitude of different ways to learn Blender.
For example, you could take a university course that teaches Blender or 3D in general. A lot of the content will be cross-compatible with other 3D software.
While courses at universities are generally pretty good, they can be hit-or-miss depending on the university and the specific course you take.
What I have found is that Uni art degree's are far better for making contacts than actually learning the content.
A more general course will probably point you in the right direction, but it may not be as in-depth as a course from a technical university.
Additionally, there are online course platforms, such as our own polyfable.com.
Each of which has its own take on the learning experience and emphasizes different core concepts within the 3D journey. For example, polyfable.com places more emphasis on storytelling, whereas Udemy is more about general learning.
Paid vs Free
When deciding to learn Blender, usually I feel that it attracts the type of person who is pricing wise, cautious, about spending money on the venture. So a word of caution.
Blender, while free, isn’t cheap.
And I highly recommend reading this article about the price of Blender for more information in regards to what I mean by that statement.
But basically, while core software is free - you will need to invest in some assets and learn to make the most of it.
That said you most certainly can learn for free - but you will be sacrificing time over money.
I am personally someone who started off learning for free. And I can say with authority that it is doable.
But if you have the means I would recommend taking a course - not because you get better information. But because it is structured.
Polyfable
Bring your stories to life
Are you tired of scrolling youtube?
Trying to learn how to tell your story?
Become a member and get access to our amazing courses and levels!
Join NowGetting Started with Blender
Installing Blender
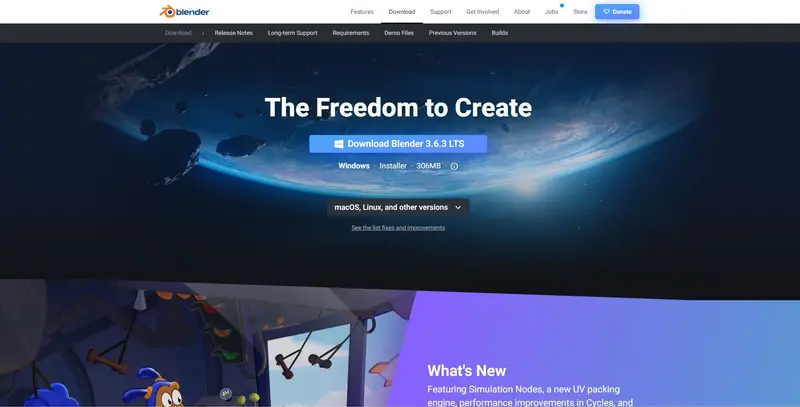
The first step towards learning how to use Blender is to install it on your computer.
Blender is available for free and can be downloaded from the official Blender website.
The website provides a download link for the latest version of Blender.
Which is compatible with various operating systems, including:
- Windows
- macOS
- Linux
Navigating the Interface
Once you have installed Blender, it's time to familiarize yourself with its interface.
Blender’s interface may seem overwhelming at first, but with a little practice, you will find it user-friendly and efficient.
The interface consists of various panels, menus, and toolbars that can be customized to suit your workflow.
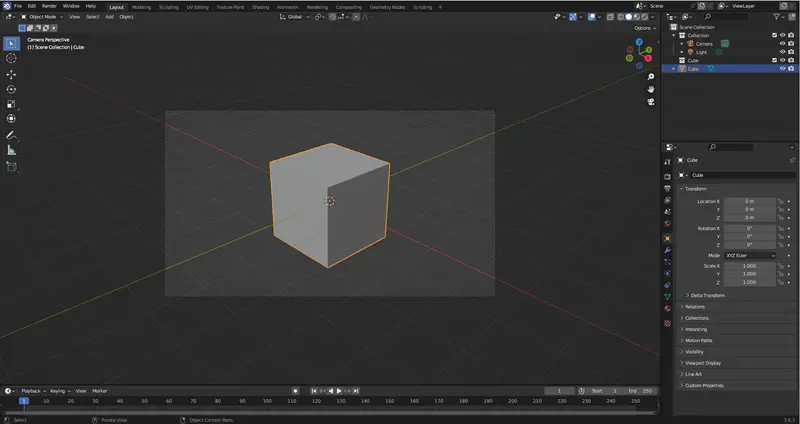
The main components of the Blender interface are:
- Viewport: This is where you can view and interact with your 3D models.
- Outliner: It provides an overview of all the objects, materials, and other elements present in your scene.
- Properties: This panel displays the properties of selected objects and allows you to modify them.
- Timeline: It allows you to manage animations and keyframes in your project.
- Tools and Toolbar: This section provides access to various modelling, sculpting, and texturing tools.
- Render and Image Editor: These panels allow you to render your project and make adjustments to the final image.
Familiarize yourself with these components to navigate through the Blender interface effortlessly.
Modelling in Blender
Creating Objects
To get started with modelling in Blender, you need to create objects.
Blender offers various methods to create objects, including primitives such as cubes, spheres, and cylinders, as well as more complex shapes.
To create an object:
- go to the "Add" menu
- select the desired shape or use the shortcut keys.
- Once you have created an object.
You can manipulate its size, position, and rotation using the transformation tools.
Mesh Editing Tools
 Blender provides a wide range of mesh editing tools that allow you to manipulate the shape and structure of your model. Some of the commonly used mesh editing tools include:
- Extrude: This tool duplicates a selected part of the mesh and extends it in a specific direction.
- Subdivide: It divides faces, edges, or vertices into smaller parts.
- Bevel: This tool adds a rounded edge to selected edges.
- Loop Cut: It adds a loop of vertices along a selected edge.
Explore and experiment with these tools to understand their functionalities and how they can be used to create complex models.
Modifiers
Modifiers are powerful tools in Blender that allow you to apply various effects and transformations to your model.
They can be used to create effects such as smooth shading, bevelled edges, or even complex simulations. Some commonly used modifiers include:
- Subdivision Surface: It smooths out the surface of your model by subdividing the faces.
- Mirror: This modifier creates a mirrored copy of your model.
- Array: It duplicates your model and arranges the copies in a specified pattern.
- Boolean: It allows you to combine or subtract multiple objects to create complex shapes.
Experiment with different modifiers to explore their capabilities and enhance your modelling workflow.
Texturing and UV Mapping
UV Unwrapping
UV unwrapping is the process of unwrapping the 3D surface of an object onto a 2D plane so that textures can be applied accurately.
Blender provides various methods for UV unwrapping, including the Smart UV Project and the Unwrap tool. These methods allow you to create seams on your model, which act as edges for the UV islands.
Applying Textures
Once you have unwrapped your model, you can apply textures to its surface.
Blender supports various types of textures, including image textures, procedural textures, and vertex colour textures.
To apply a texture, you need to create a material and assign the desired texture to it. You can then use the UV editor to adjust the mapping coordinates of the texture on the UV islands.
Animation and Rigging
Keyframing
Keyframing is the process of setting specific points in time where an object's position, rotation, and scale are defined.
Blender allows you to animate your models by using keyframes.
You can set keyframes manually by altering the object's properties, or you can use Blender's animation tools, such as the Graph Editor and the Dope Sheet, to create complex animations.
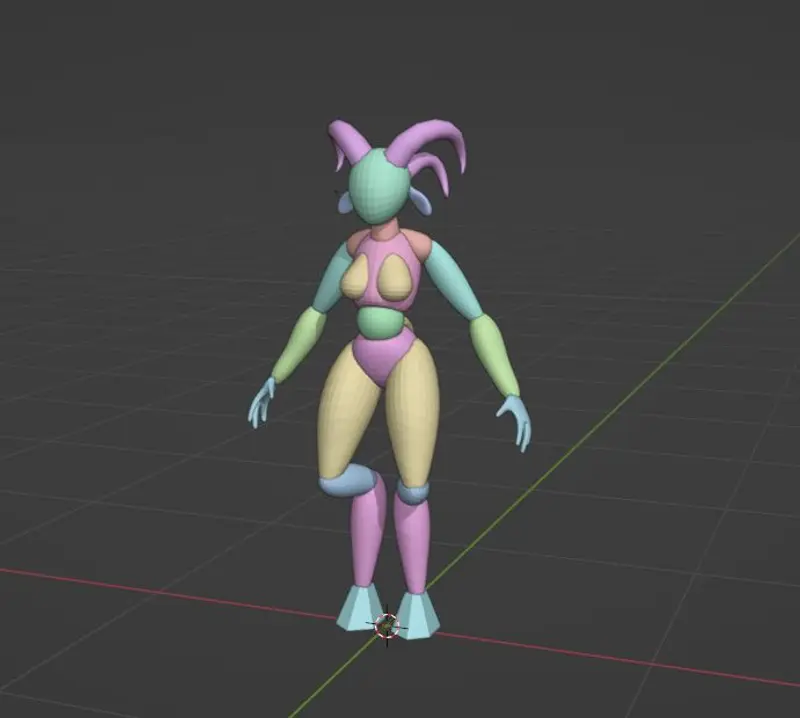
Rigging
Rigging is the process of creating a skeleton or a structure of bones that can deform a 3D model.
Blender provides a powerful armature system that allows you to rig your models efficiently.
The armature system consists of bones, constraints, and controllers that enable you to influence the behaviour of your model.
By assigning weights to the bones, you can control how the model deforms during animation.
Rendering and Output
Render Settings
Blender offers a wide range of render settings that allow you to control various aspects of the rendering process, such as:
- resolution
- samples
- lighting
- materials.
You can access the render settings by going to the Properties panel and navigating to the Render tab. Adjust the settings according to your requirements to achieve the desired output.
Output Formats
Blender supports multiple output formats for rendering your projects, including:
- Images
- Animations
- Video files. You can choose the desired output format from the Output Properties panel.
Blender provides options to customize the output settings, such as file format, compression settings, and colour depth. Experiment with different output formats to find the one that suits your needs.
Conclusion
Learning how to use Blender can seem intimidating at first, but with practice and dedication, you can master this powerful 3D creation suite.
In this comprehensive guide, we have covered the basics of using Blender, including:
- navigating the interface
- modelling
- texturing
- animation
- rigging
- rendering.
The key to becoming proficient in Blender is to keep experimenting and exploring its various features and tools.
So, grab your mouse and start creating stunning 3D artwork with Blender!